By Ryan Ridgway
Photos by Gary Smart
If you own a horse, chances are that you have an unending supply of horseshoes waiting for the last set of hooks you made to wear out—after all, there is only so much wall space in a barn and house. With a little heat from a forge, a hammer and an anvil, you can turn those horseshoes into great gifts and items to sell at local craft fairs and online. For those who are unfamiliar with blacksmithing, you will want to read up on anvils, forges and different fuels. There are many good books and internet forums available that are able to go into much further depth than I am able to in this article.
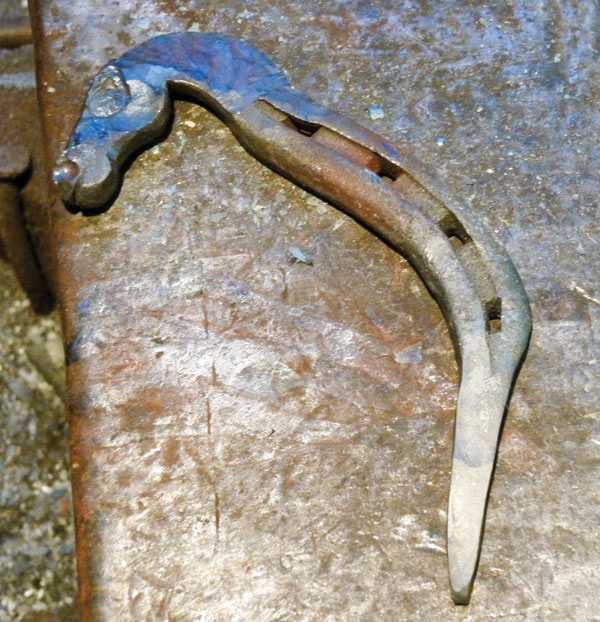
HOOF PICK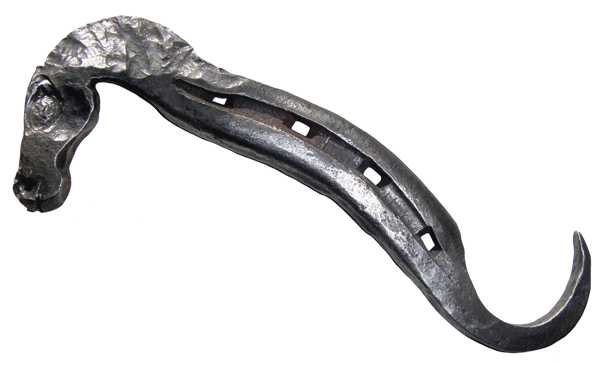
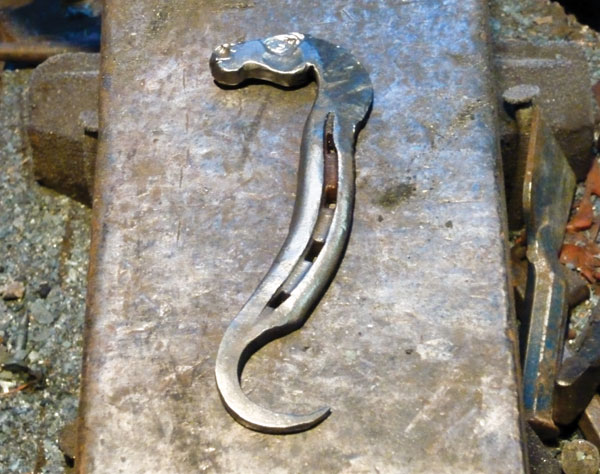
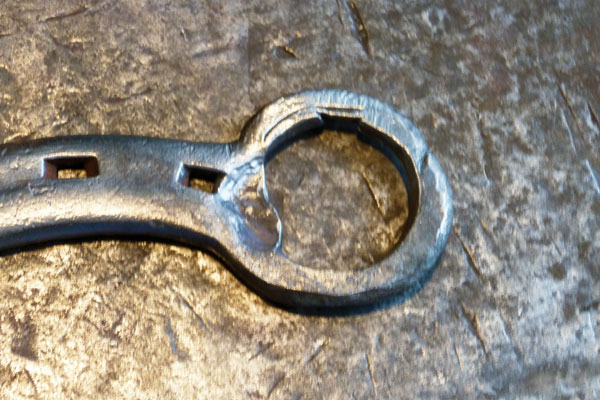
BOTTLE OPPENER


Begin to open up the split by hammering your slitting chisel deeper. Continue opening the ring with punches until it will fit onto the tip of your anvil horn or mandrel. If you don’t have an anvil with a horn, you will need to make a mandrel to round the bottle opener. A simple mandrel is a 2-3 inch rod pointed on one end and held in a large vise.
Tips
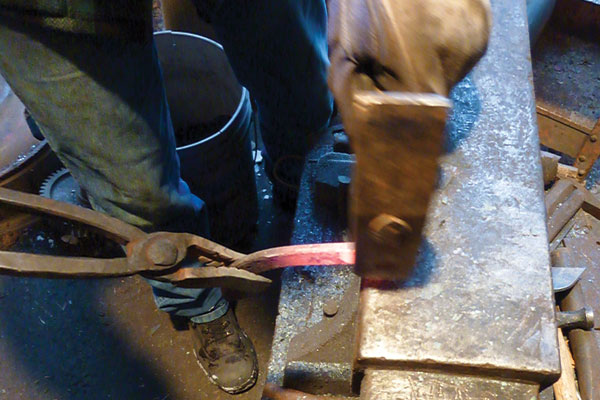
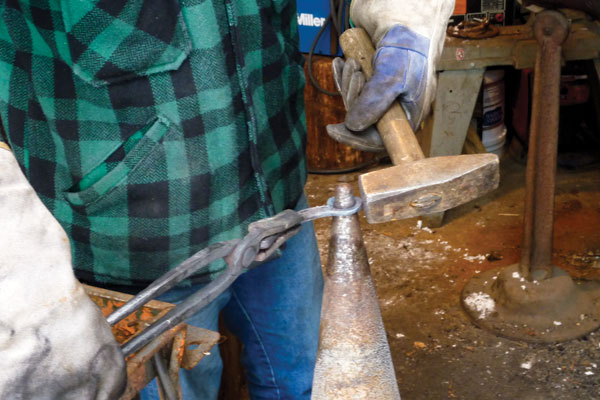
- To make these projects, start by choosing an iron shoe that is not too worn in the toe and cut it in half. Working temperature, as shown is so that the metal glows between bright orange and dark yellow. If it is too cold (dull red to dark orange) or hot (bright yellow to white and sparkling), the metal will become brittle and prone to breakage.
- For a food safe rust protection on your forged items, apply paraffin or beeswax when the metal is hot and allow it to cool. For a blackened finish, heat the metal until it the wax smokes and allow it to burn on.
- Help supplement your farm income by selling online. There are many great websites such as www.Etsy.com and www.Meylah.com that are tailored for small hobby businesses.
- Cold modelling clay is a great way to practice these projects and proportions, without wasting shoes if you have a limited supply. It moves like hot metal and can be reshaped if you make a mistake.
- For a smoother finish on your forged pieces, round the edges of your hammer and anvil and keep their faces dent free.