Forty-nine days since “The Mighty” Quinn’s last trim; here’s the progress:
Quinn’s right front hoof with the growth rate marked with felt pen. The hoof with be mapped and trimmed, the anti-bacterial epoxy will be removed, the hoof will be soaked and cleaned and new epoxy will be re-applied.

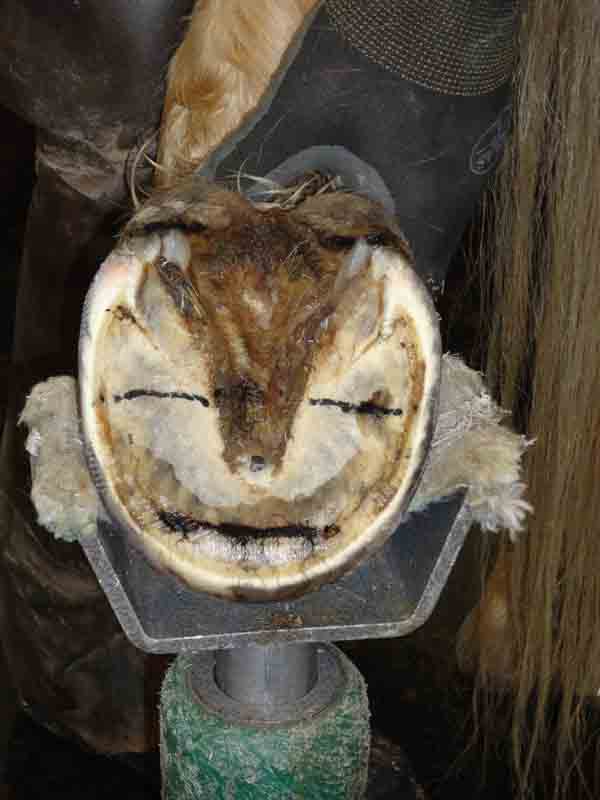
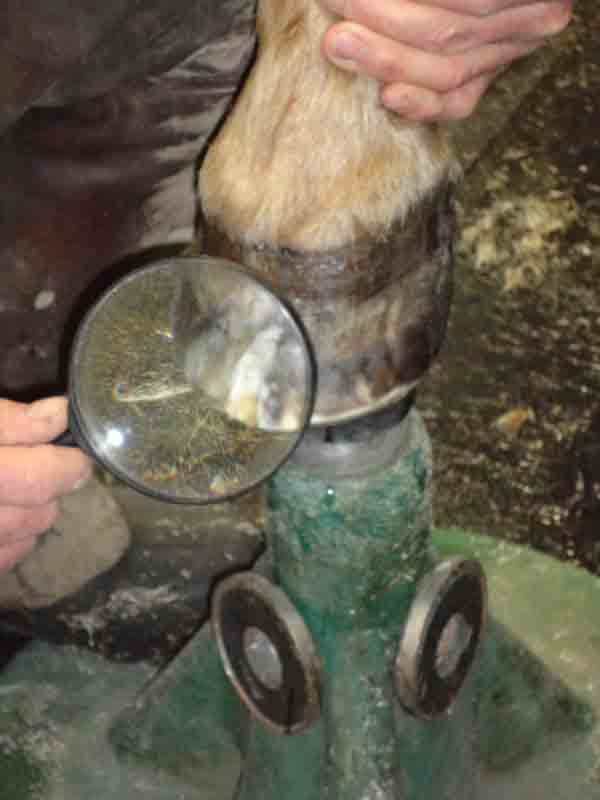
Felt pen lines on Quinn’s sole after being mapped with the hoof trimming protocol method, pre-trim. Notice his frog is beginning to grow back.
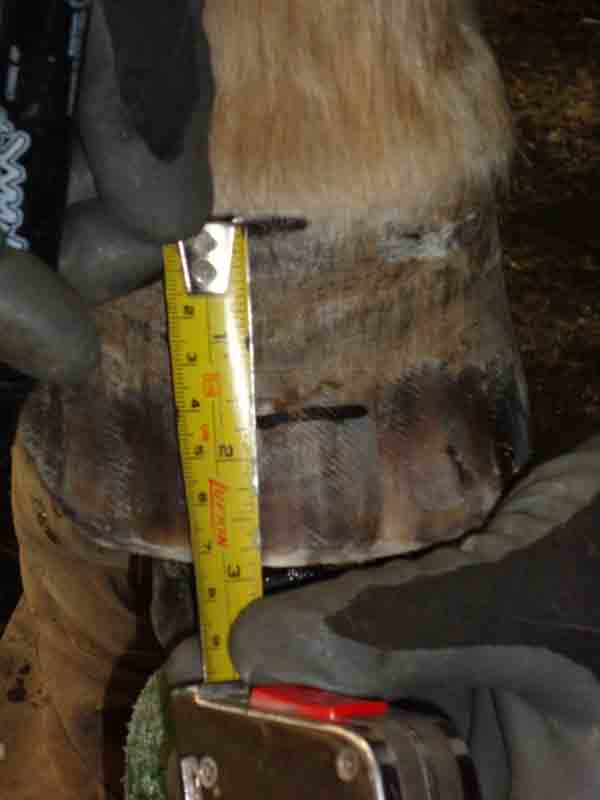
Measuring the hoof growth since Oct 4
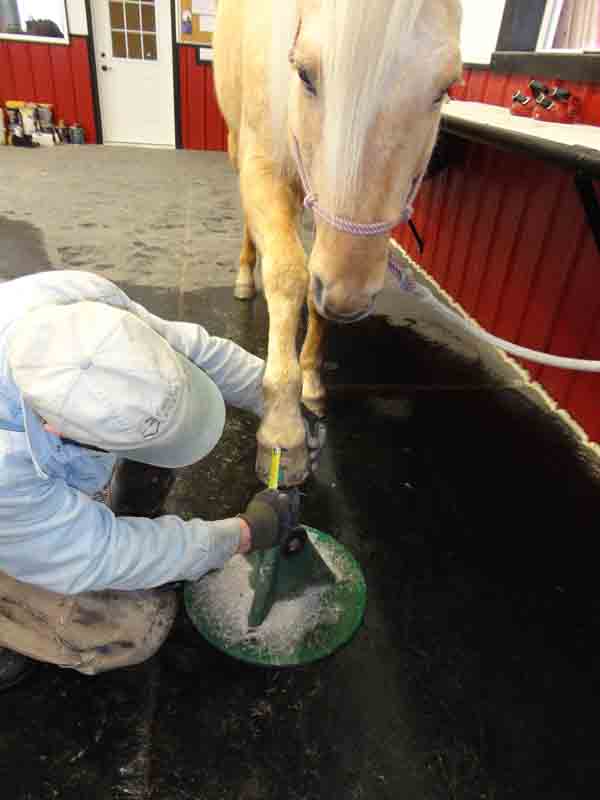
Quinn stands in a soaker boot, filled with a mixture of warm water, Epsom salts and tea tree oil, for about a half hour to thoroughly clean out the crack.
After soaking, Lane blow dries the cleaned-out crack. (I apologize for the fuzzy photo.)
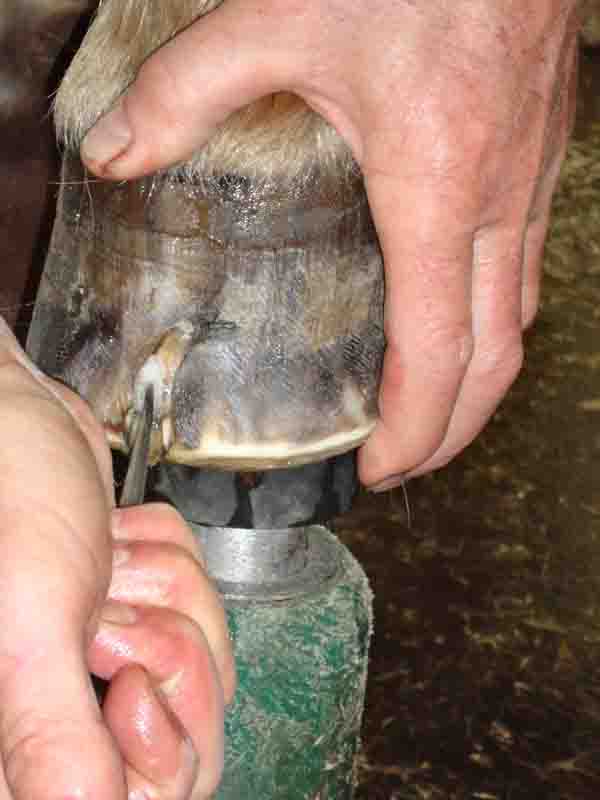
Lane’s “CSI” moment; checking to make sure the crack is thoroughly clean.
Inserting a piece of tea tree oil-soaked gauze.
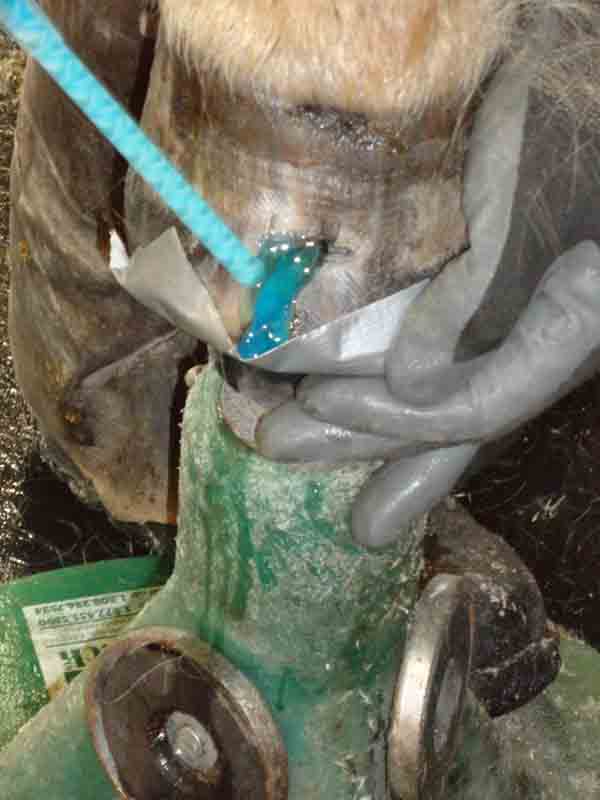
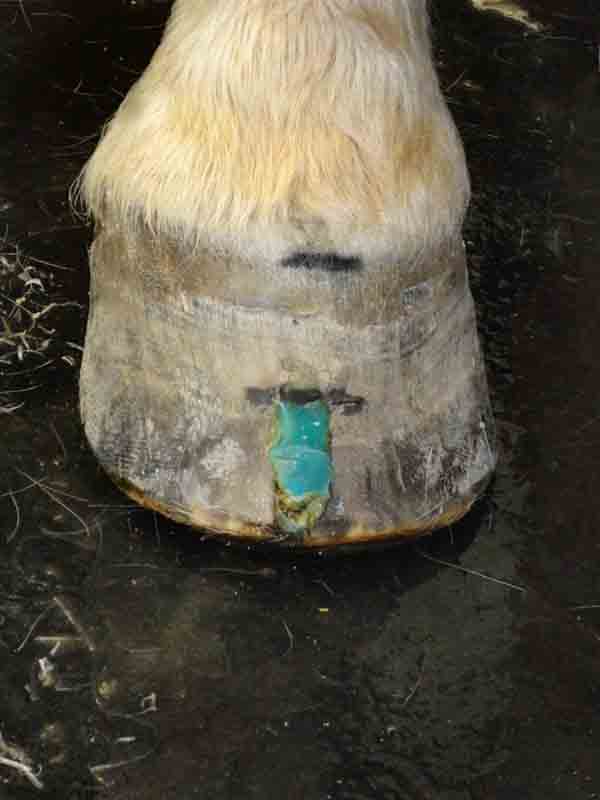
Here, Lane has applied a layer of duct tape to the bottom of the hoof below the crack to act as a “dam” to prevent the copper sulfate-infused epoxy from oozing out the bottom. Once this epoxy has dried it is as hard (if not harder) than the hoof wall itself.
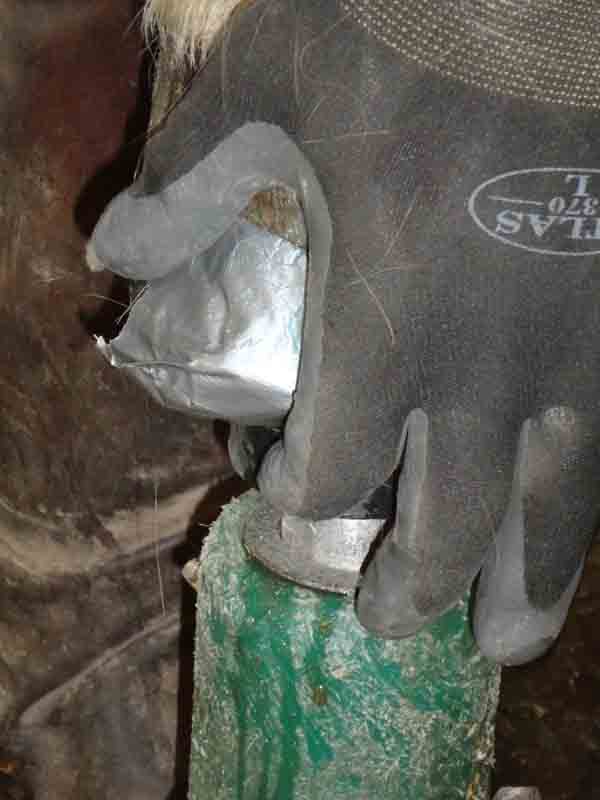
Lane covered the freshly-applied epoxy with a temporary layer of duct tape to force it into every crevice and prevent it from “slumping” and oozing out. Once the epoxy was set the duct tape was removed.
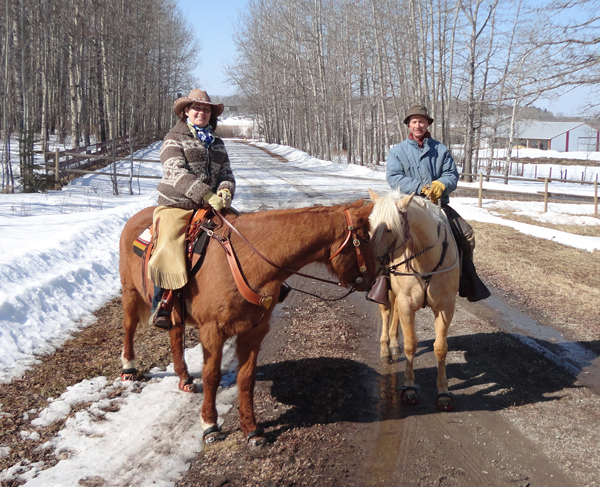
Now that the hoof has grown out a safe amount and at least half of the hoof is supported with new growth, a supporting cast is no longer needed. This is me on Woody and Lane riding Quinn (both horses are “booted up” with Renegade Boots) on April 1 after the trims. It was Woody’s 28th birthday.